Replace a Drum Cartridge
- Product support for
- VersaLink C8000 Color Printer, VersaLink C8000W Color Printer, VersaLink C9000 Color Printer
- Article ID
- KB0134820
- Published
- 2020-10-06
When a drum cartridge requires replacement, a message appears on the control panel.
To replace a drum cartridge:
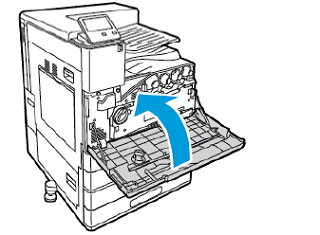
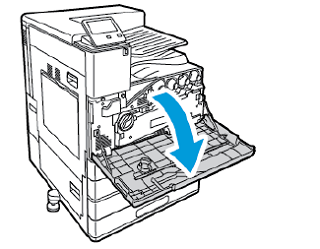
Open the front door.
Remove the waste toner transport unit:
To unlock the waste toner transport unit, rotate the locking lever 45 degrees counterclockwise.

To release the waste toner transport unit, press both orange tabs as shown, then pull out the unit from the printer.

Place the removed waste toner transport unit on a level surface, with the openings facing up.

CAUTION: To avoid toner spills, do not lay the unit face down, or on its side.
Rotate the R1, R2, R3, or R4 drum cartridge lever to the right.
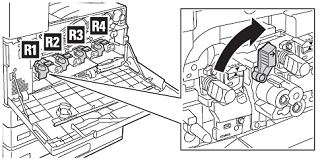
Push up on the release button, and then carefully pull the cartridge out of the printer.

Remove the new drum cartridge from its packaging and protective materials except the protective strip on the top.

CAUTION: Do not expose the new drum cartridge to light for more than 5 minutes as it can lower the life of the cartridge or cause print quality degradation.Carefully install the new cartridge into the printer and make sure it clicks into place.


Pull out to remove the protective strip from the top of the cartridge.

Rotate the R1, R2, R3, or R4 drum cartridge lever to the left.

Remove the printhead LED lens-cleaning rod from inside the front door.

Slowly push the cleaning rod into the printer until it stops, then pull out the rod. Repeat this action two more times.

Return the cleaning rod to its original location.

Re-install the waste toner transport unit:
Position the waste toner transport unit as shown.

Press the waste toner transport unit toward the printer, until both ends click into place.

To lock the waste toner transport unit, rotate the locking lever 45 degrees clockwise.

Close the printer front door.