Check Primarynet Message; Unable to Use Remote Services and Other Services Over Wi-Fi
- Product support for
- Phaser 6510
- Article ID
- KB0094217
- Published
- 2019-10-09
This device offers two network connections, a wired Ethernet connection and an optional Wi-Fi connection (using an optional Wi-Fi adapter purchased separately).
From the factory, the Ethernet connection is considered the Primary network connection ('Primarynet') and the Wi-Fi adapter is considered the Secondary network connection.
Several services including Xerox Remote Services are only available through the Primary network and will not work until the Primary network is set to Wi-Fi.
Note: Other services not available over the Secondary network connection include:
IPsec
EIP Web Service
ThinPrint .print
UPnP Discovery
LDAP
Scan to FTP, SMB, Email
WSD Scan
SNTP
If the device is only connected to the network through the Wi-Fi module, it is recommended to switch the Wi-Fi network to the Primary network.
To Set the Primary Network to Wi-Fi Using the Embedded Web Server
Connect the device to a Wired network and determine the IP address of the device.
Note: The IP address can be found on the Configuration Report.Access the Embedded Web Server and log in as an Administrator:
From a computer on the same network as the printer, open an Internet browser window.
Enter the IP address of the printer in the Address field, and then press Enter or Return. The Embedded Web Server home page will be displayed.
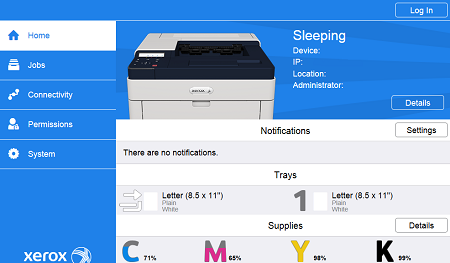
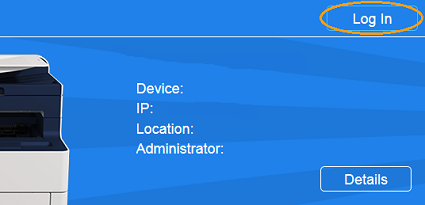
Click on the Log In button at the top, right of the page.
The User Accounts window will be displayed. Click on admin.

Enter the System Administrator password in the field provided, and then click on Log In.
Note: Depending on when the device was manufactured or the software version installed, the default password may be the device serial number or 1111.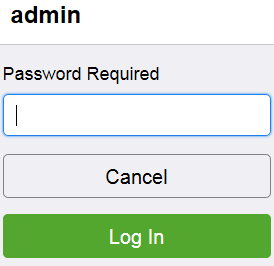
Click on Connectivity.
Click on Ethernet.

Click on the Edit button in the Common section.
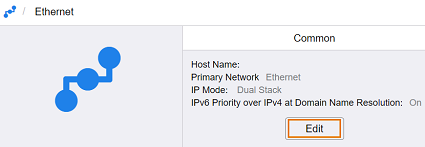
Click on Primary Network, then select Wi-Fi from the pop-up menu.

Click on OK.
Click on Restart Now when prompted to restart the device to save the changes.