Install a Print Driver to use With a Linux OS - VersaLink
- Product support for
- VersaLink B400 Printer, VersaLink B405 Multifunction Printer
- Article ID
- KB0119092
- Published
- 2023-09-05
This example of an installation is for Red Hat based Xerox driver.
Some Red Hat based versions are Red Hat, Fedora, CentOS, Mandrake and SUSE. Installing Xerox Office Standard Driver on a RHEL OS system.
These steps are applicable to Red Hat based versions such as Red Hat, Fedora, CentOS, Mandrake and SUSE (This is using RHEL 8.6 as the example.)
Download the driver from Xerox.com. The example in this procedure uses the Linux intel 64-bit Driver.
Admin rights for the Linux OS are required (just like Mac OS).
Continue and it will unpackage the files and install. When the process has finished placing the files where they are needed, you need to open terminal.
Log in as admin in terminal.
Type su for super user – this is admin level. Enter your password. The cursor will not move or display the password being typed.

You will need to download the file. When completed you will Cd to the directory that it downloaded to.

Use below command to install driver package.

Type cd / .This will take you out of your home directory to the root of the filesystem. If you type ls you will see a number of files and directories.
Type cd /opt/XeroxOffice/prtsys

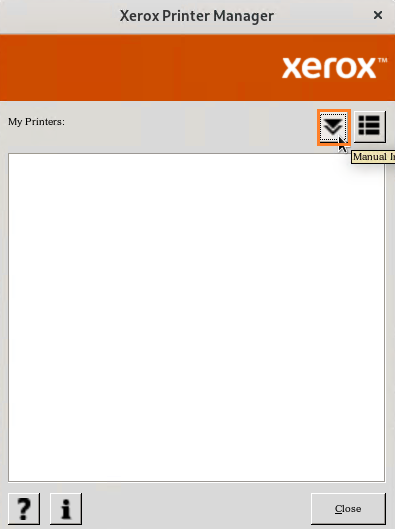
Use the command ./xeroxofficeprtmgr . The Xerox Driver Print Manager window will be displayed.

Click the down arrow and you will see the option for manual install. Give it a name, Choose the ‘Xerox Office Standard Driver’ and enter the IP address.
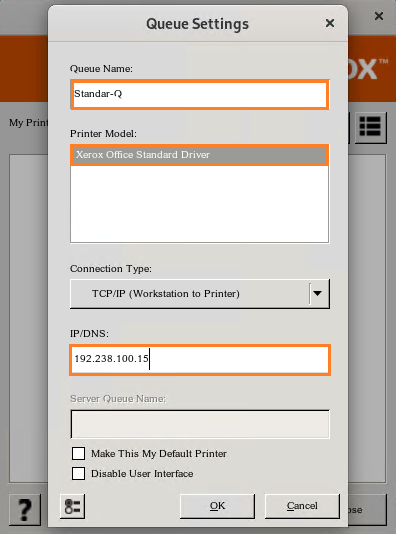
Click the button located on the lower, left to create the default options such as Trays, Grayscale, BW and Colour and Duplex options.

The following window appears, using the Xerox Standard Office Driver as an example.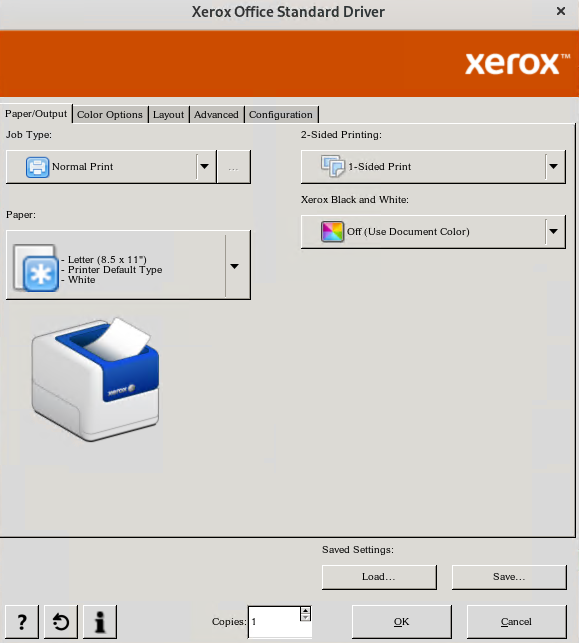
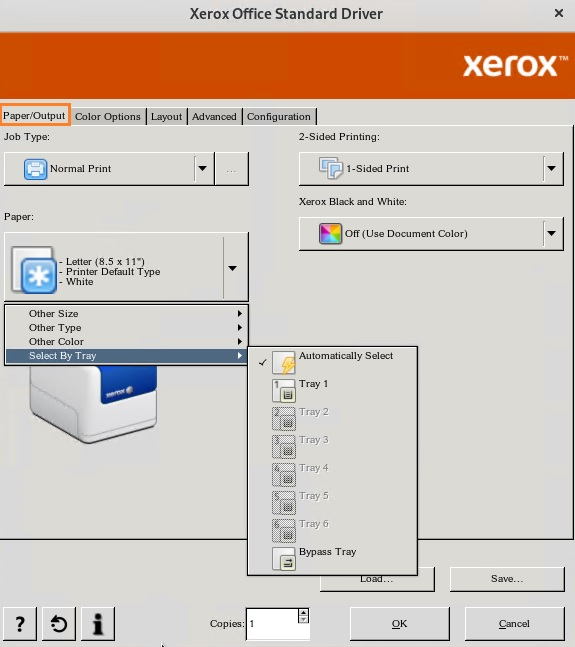
You will configure your default trays in the Paper/Output tab.
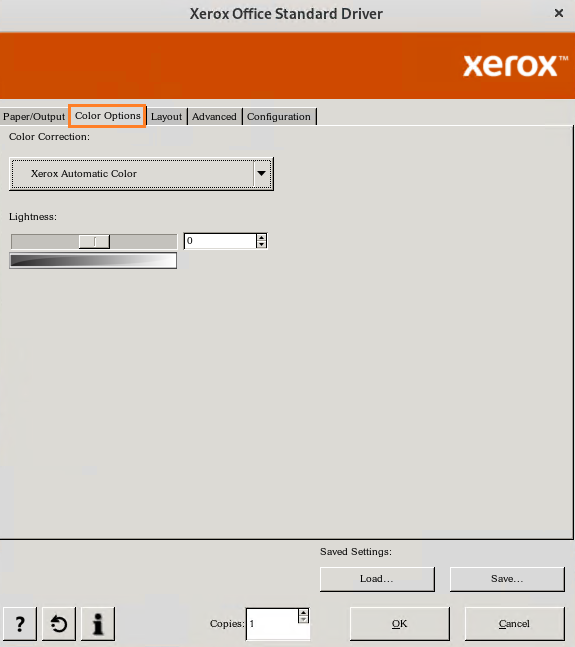
Set your Color Correction and image adjustments in the Color Options tab.
To add your additional trays and Accounting, do configure in the Configuration tab.

Booklet Options are found under Layout tab.

Banner sheet is enabled or disabled in the Advanced Tab.

Select Save to save/set the options. The queue will be built using the options selected and is ready to be shared to your environment.
