Configure or Modify the Automatic (DHCP) IP Address on the Printer
- Product support for
- Phaser 7800
- Article ID
- KB0090937
- Published
- 2016-11-10
The printer automatically acquires a network address from a DHCP server by default.
Configuring TCP/IP Settings at the Control Panel
Configuring the IPv4 Network Address for DHCP:
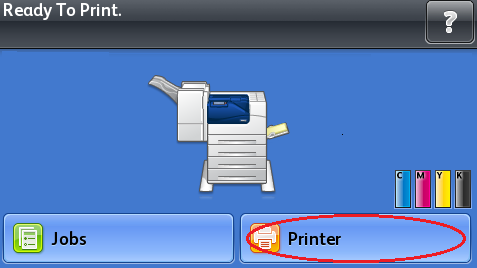
Select [Printer] on the Touch Screen.
Select the [Tools] tab, and then select [Setup].
Select [Network & USB].
Select [Ethernet].
Select [TCP/IP (v4)].
Select [On:DHCP].
Select [OK].
Configuring the IPv6 Network Address for DHCP:
Select [Printer] on the Touch Screen.
Select the [Tools] tab, and then select [Setup].
Select [Network & USB].
Select [Ethernet].
Select [TCP/IP (v6)].
Select [On:DHCP].
Select [OK].
Select [DHCPv6].
Select [Enable DHCPv6].
Under Mode, select one of the following:
Router
Stateful
Stateless
Select [Apply Now].
Select [OK].